DJI Mini 4 Pro
£689.00 Original price was: £689.00.£615.00Current price is: £615.00.
Discover the Ultimate Mini-Camera Drone
Meet the DJI Mini 4 Pro, our most advanced mini-camera drone to date, offering six compelling features that cater to both professionals and beginners.
“Maximise Your Experience with DJI Mini 4 Pro – Six Standout Features”
Discover the DJI Mini 4 Pro: Power, Portability, and Performance in One Compact Drone
At Drone Sales, we’re passionate about helping creators and adventurers take their imagination to new heights. That’s why we’re excited to present the DJI Mini 4 Pro, a compact yet powerful drone designed to deliver professional-grade features in a lightweight, travel-friendly package. Whether you’re a beginner or a seasoned drone enthusiast, this innovative model is made to elevate your aerial photography experience without the hassle.
Lightweight Convenience: Fly Freely, Anytime, Anywhere
Ultra-Light Design with Big Capabilities
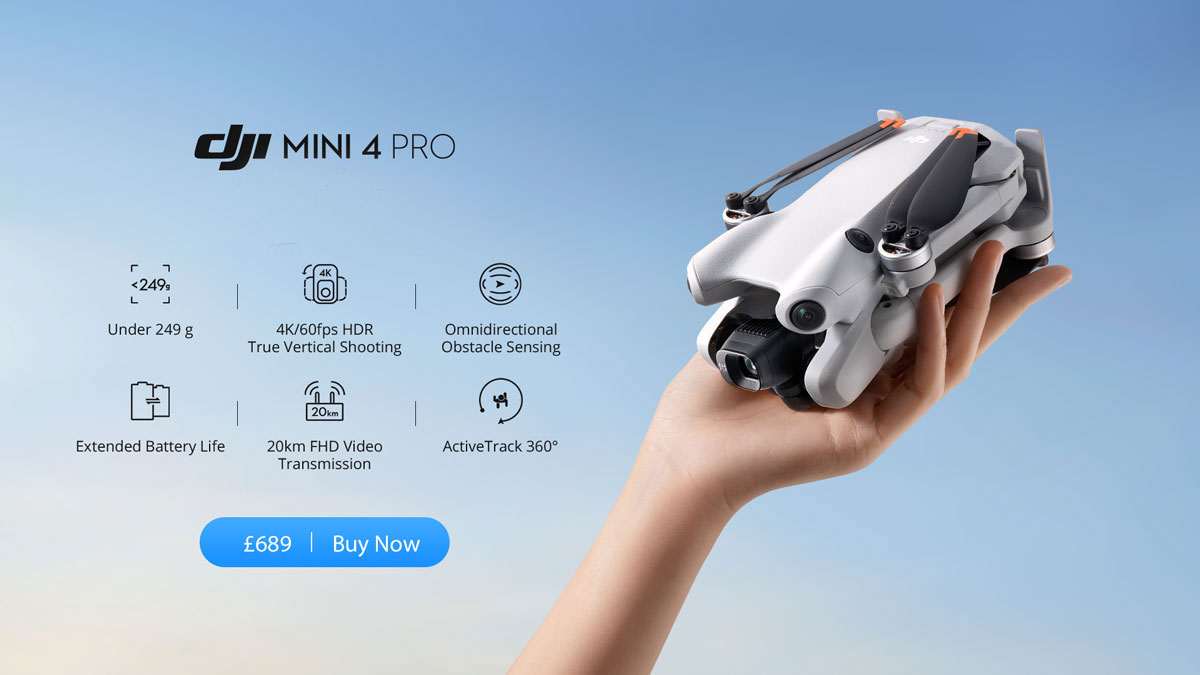
One of the standout features of the DJI Mini 4 Pro is its incredibly light design, weighing under 249 grams. This makes it a perfect choice for creators who are always on the move. In most countries, including the UK and across Europe, drones under 250g do not require pilot training or formal registration—meaning fewer regulations and more freedom to fly whenever and wherever creativity strikes.
Whether you’re backpacking through the Lake District or exploring the streets of London, the compact design of the DJI Mini 4 Pro ensures you’re always ready for spontaneous aerial adventures.
Outstanding Imaging Performance: See the World Through a New Lens
Professional-Grade Camera in a Miniature Frame
Despite its small size, the DJI Mini 4 Pro is a powerhouse when it comes to image quality. It features a 1/1.3-inch CMOS sensor, equipped with Dual Native ISO Fusion, an f/1.7 aperture, and advanced 2.4μm 4-in-1 pixels. This setup allows the drone to capture richly detailed images and video with an impressive dynamic range.
From stunning sunset landscapes to fast-moving city life, every shot is crisp, vibrant, and professionally balanced. Whether you’re filming in daylight or low-light environments, the Mini 4 Pro delivers exceptional clarity and colour accuracy.
Intuitive Safety Features: Confidence in Every Flight
Advanced Obstacle Sensing for Maximum Security
Safety is a top priority for us at Drone Sales, and the DJI Mini 4 Pro doesn’t disappoint. It features omnidirectional obstacle sensing, combining four wide-angle vision sensors with powerful downward sensors. This all-around awareness enables the drone to detect and avoid obstacles from every direction.
Thanks to DJI’s Advanced Pilot Assistance Systems (APAS), the Mini 4 Pro can automatically brake or reroute itself mid-flight to avoid collisions, giving pilots peace of mind—especially in complex or crowded flying environments.
Creative Freedom: Cinematic Shots Made Easy
Intelligent Flight Modes for Effortless Filming
Unlock your inner filmmaker with the DJI Mini 4 Pro’s range of intelligent shooting modes. Capture complex aerial manoeuvres with ease using:
-
Spotlight – Focus on a subject while flying freely.
-
Point of Interest – Circle around a target with cinematic precision.
-
ActiveTrack 360° – Track moving subjects from all directions while avoiding obstacles.
Add to that MasterShots and QuickShots, which allow you to automatically generate professional-looking clips complete with editing and music options—all with just a few taps. These features are ideal for creating high-quality content for social media, vlogs, and commercial projects.
Extended Flight Time: Capture More, Charge Less
Long-Lasting Battery Life for Endless Exploration
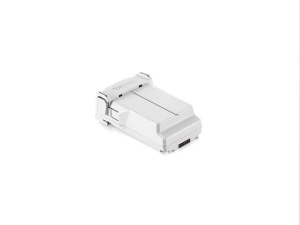
The DJI Mini 4 Pro is C0 certified in Europe, which confirms its compliance with strict safety and performance standards. It offers up to 34 minutes of flight time on a standard Intelligent Flight Battery, giving you plenty of airtime to perfect your shots.
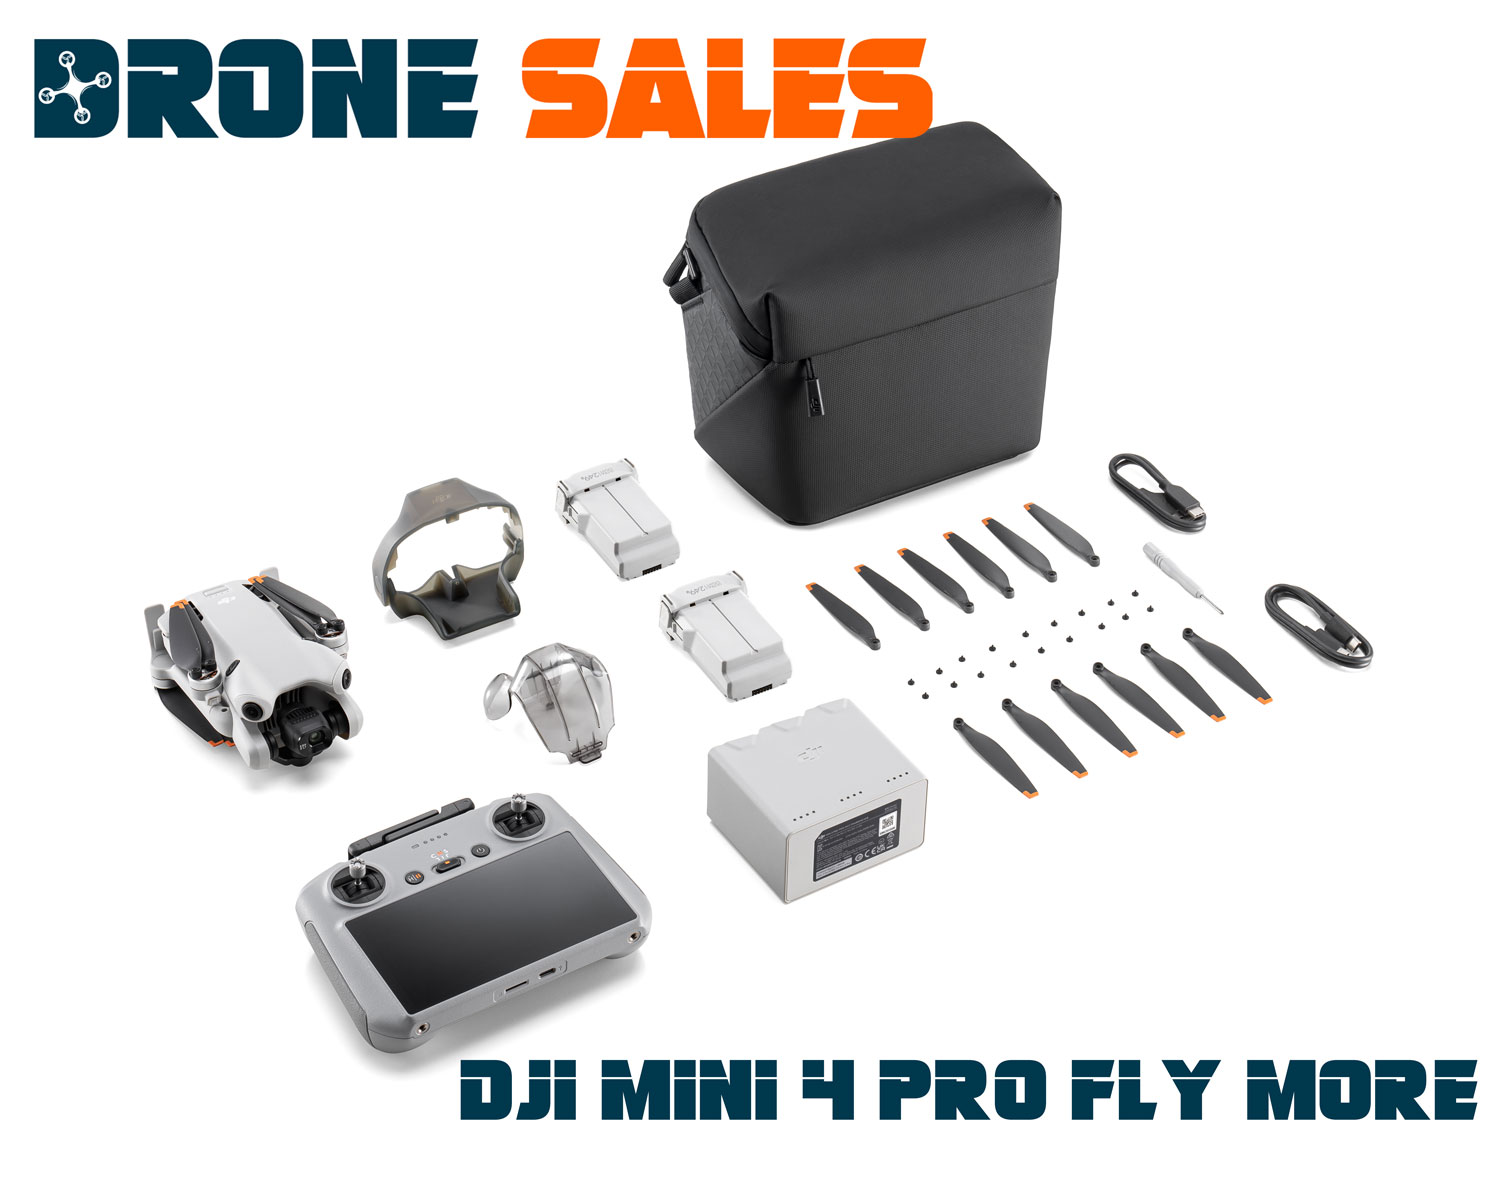
For even longer flights, you can upgrade to the Intelligent Flight Battery Plus, which extends your air time significantly. Less worry about battery levels means more time capturing incredible footage.
Must-Have Accessories: Enhance Your Mini 4 Pro Experience
At Drone Sales, we also offer a range of accessories that perfectly complement the DJI Mini 4 Pro, including:
-
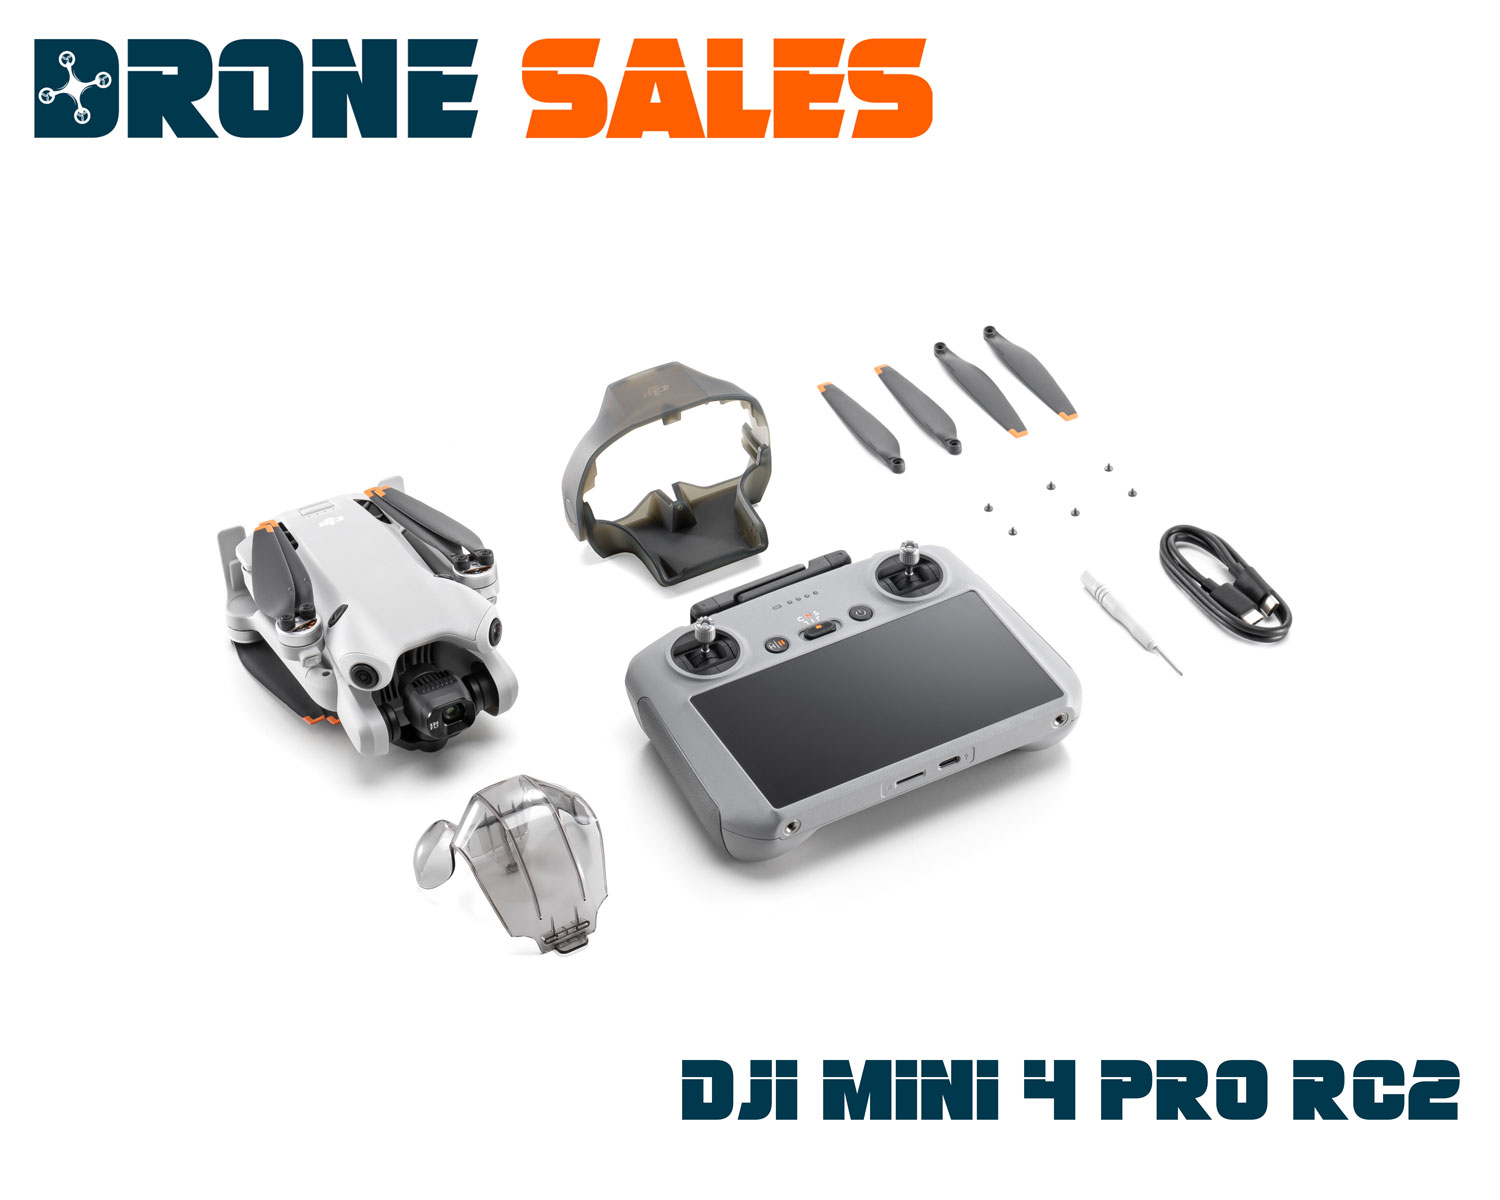
DJI RC 2 – An enhanced controller with a built-in screen for direct viewing.
-
Two-Way Charging Hub – Charge multiple batteries efficiently on the go.
-
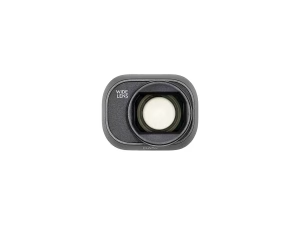
Wide-Angle Lens – Expand your field of view for more immersive shots.
-
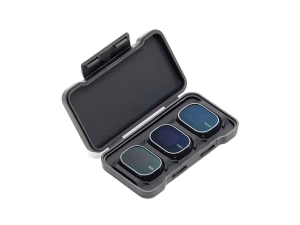
ND Filter Set – Control exposure in bright lighting conditions.
-
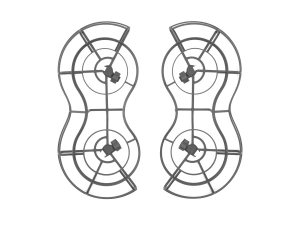
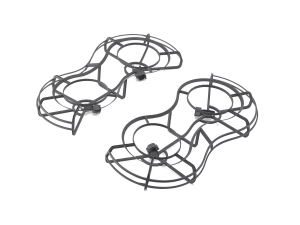
360° Propeller Guard – Extra safety, especially indoors or around obstacles.
These accessories help you customise and maximise your drone’s capabilities to suit your personal shooting style and environment.
3D and AR Previews: Try Before You Fly
Visualise Every Angle in Real-Time
Curious to see how the DJI Mini 4 Pro will look and feel in your hands? With our 3D and Augmented Reality (AR) previews, you can explore this cutting-edge drone in detail from your smartphone or tablet.
iOS users can use the AR preview to project a life-size version of the Mini 4 Pro into their real-world environment. This gives you a better sense of its size, design, and features—before you even make a purchase.
Why Buy the DJI Mini 4 Pro from Drone Sales?
At Drone Sales, we’re more than just a retailer—we’re drone enthusiasts who understand what you need for a seamless flying experience. When you purchase the DJI Mini 4 Pro from us, you’re not only getting a top-tier drone but also expert support, warranty coverage, and guidance every step of the way.
Our customer-first approach means we’re here to help whether you’re picking your first drone or upgrading to something more advanced.
The DJI Mini 4 Pro Delivers More Than Just Portability
With its ultra-lightweight body, high-end imaging features, advanced safety systems, and intelligent flight modes, the DJI Mini 4 Pro is an ideal companion for both hobbyists and professionals alike. It blends ease of use with powerful capabilities, all in a palm-sized package that fits in your bag or pocket.
Ready to explore the skies? Visit Drone Sales today and experience the future of flight with the DJI Mini 4 Pro.
| Feature | Description | Scenario |
|---|---|---|
| Intelligent Flight Battery | Add a upgraded battery. Meets the shooting needs of most users during one-day travel and enables more opportunities to explore, allowing them to enjoy free creation without low-battery anxiety. * the aircraft will weigh more than 249 g with an Intelligent Flight Battery Plus. | Scenario 1: Longer flight time provides users with more flexibility to explore and prepare. They can try different camera positions or take some shots in advance and compare. This allows them to enjoy aerial photography fully. Scenario 2: Longer battery life can also reduce the low-battery anxiety of users and help them fly more confidently. |
| ActiveTrack (upgrades) (ActiveTrack new feature) Trace Mode -Touch Trace | Customizable tracking camera movement – Users can set the drone to follow a certain flight route during the tracking process (the previous version only supported fixing in a certain direction), achieving freer and more diverse tracking routes. | In scenarios like biking/roaming/skateboarding/car tracking, it provides more stable tracking routes and customizable flight routes to achieve tracking effects like circling and spiraling. |
| FocusTrack | Spotlight Point of Interest ActiveTrack (Trace/Parallel) | When the battery is low, it allows the drone to complete RTH faster and save more power. Scenario 2: It avoids the problem that the drone stops flying when encountering Altitude Zones during Straight Line RTH |
| Advanced RTH | Supports obstacle avoidance and bypassing. During the flight, the drone can scan its surroundings globally, implement internal mapping, and plan the optimal route back to its home point, including power-saving RTH and original RTH. It is faster, more power-efficient, and safer when the battery level is low. * This feature is unavailable when the vision-sensing system is disabled. | When the battery is low, it allows the drone to complete RTH faster and save more power. Scenario 2: It avoids the problem that the drone stops flying when encountering Altitude Zones during Straight Line RTH. |
| Waypoint Flight | Users can preset several points, and the drone will automatically fly along them. The drone can also perform preset and highly customizable actions during the flight. Users can also save flight routes for repeated flights. | Useful for one-takes. For some complex camera movements, users can use this function first for composing the idea and then perform automatic flight to create smooth footage. |
| Cruise Control | Press the shortcut button to lock the speed (based on how hard you are pushing the control stick at that moment). Once locked, there is no need to continue pushing the sticks; the locked movement will continue. During the long-distance flight, this locks the speed/direction without requiring continued control stick movement or usage. Additionally, users can manually adjust the speed or direction at any time. | Locking the flight speed and direction produces smoother footage when shooting orbit footage. Meanwhile, users can increase the throttle to fly upward in a spiral. |
| Hyperlapse | Feature upgrades (compared with the previous generation): 1. Time limit is canceled so that users can keep shooting. 2. Supports compositing while shooting, which greatly shortens the output time. Shooting modes: Free/Waypoint/Circle/Course Lock | Busy traffic/tall buildings/day-to-night transition and other scenarios suitable for shooting timelapse footage. |
| MasterShots | Compatible with the three sub-modes of MasterShots: Portrait/Proximity/Landscape. It can be used when users need more confidence in camera movements or running out of ideas. It can help them shoot high-quality video materials more easily and quickly. After automatic editing and soundtrack adding in the app, videos can be created in minutes and directly shared with friends. | Scenario 1: Beginner users are unfamiliar with camera movements, while QuickShots can help them produce stunning footage quickly and effortlessly. Scenario 2: For users adept at camera movements, QuickShots provides efficient camera movements to help execute ideas more quickly and efficiently. Scenario 3: When beginner users want to capture the beauty of a scenic spot, MasterShots can automatically plan a flight route and perform camera movements to generate cinematic footage, which makes them willing to share with others and thus enjoy a sense of achievement. Scenario 4: Scenarios like mountains/buildings/grasslands allow users to quickly obtain spectacular photos worth sharing. |
| QuickShots | Dronie/Circle/Helix/Rocket/Boomerang/Asteroid | Scenario 1: Longer flight time provides users with more flexibility to explore and prepare. They can try different camera positions or take some shots in advance and compare. This allows them to enjoy aerial photography fully. Scenario 2: Longer battery life can also reduce the low-battery anxiety of users and help them fly more confidently. |
| Digital Zoom | Video:4K: up to 2x 1080p: up to 4x Photo: 12 MP: up to 2x | When capturing close shots of human subjects, the drone does not need to fly closely. Scenario 2: Provides more variations for the footage. |
| Panorama | 180°/Wide Angle/Sphere/Vertical Advantages: 1. Panorama photos in 180°/Sphere mode are up to 100 MP. Although the resolution of Wide Angle/Vertical mode does not reach 100 MP, it has also been greatly improved when compared with Mini 3 Pro (Mini 3 Pro uses subsampled technology, and the resolution of panorama photos is relatively low). 2. By incorporating a tilt shooting angle into the lens configuration, panorama photos can enhance sky effects greatly. Users do not need to manually capture the sky in the tilt angle to complete the panorama. | |
| QuickTransfer | Supports Wi-Fi downloading at a faster download speed (max 30 MB/s). You can enable Wi-Fi downloading without connecting to the remote controller. Easy and fast, put a powered-on drone close to your phone to pair up. | The waiting time is shorter when users download photos/videos. |
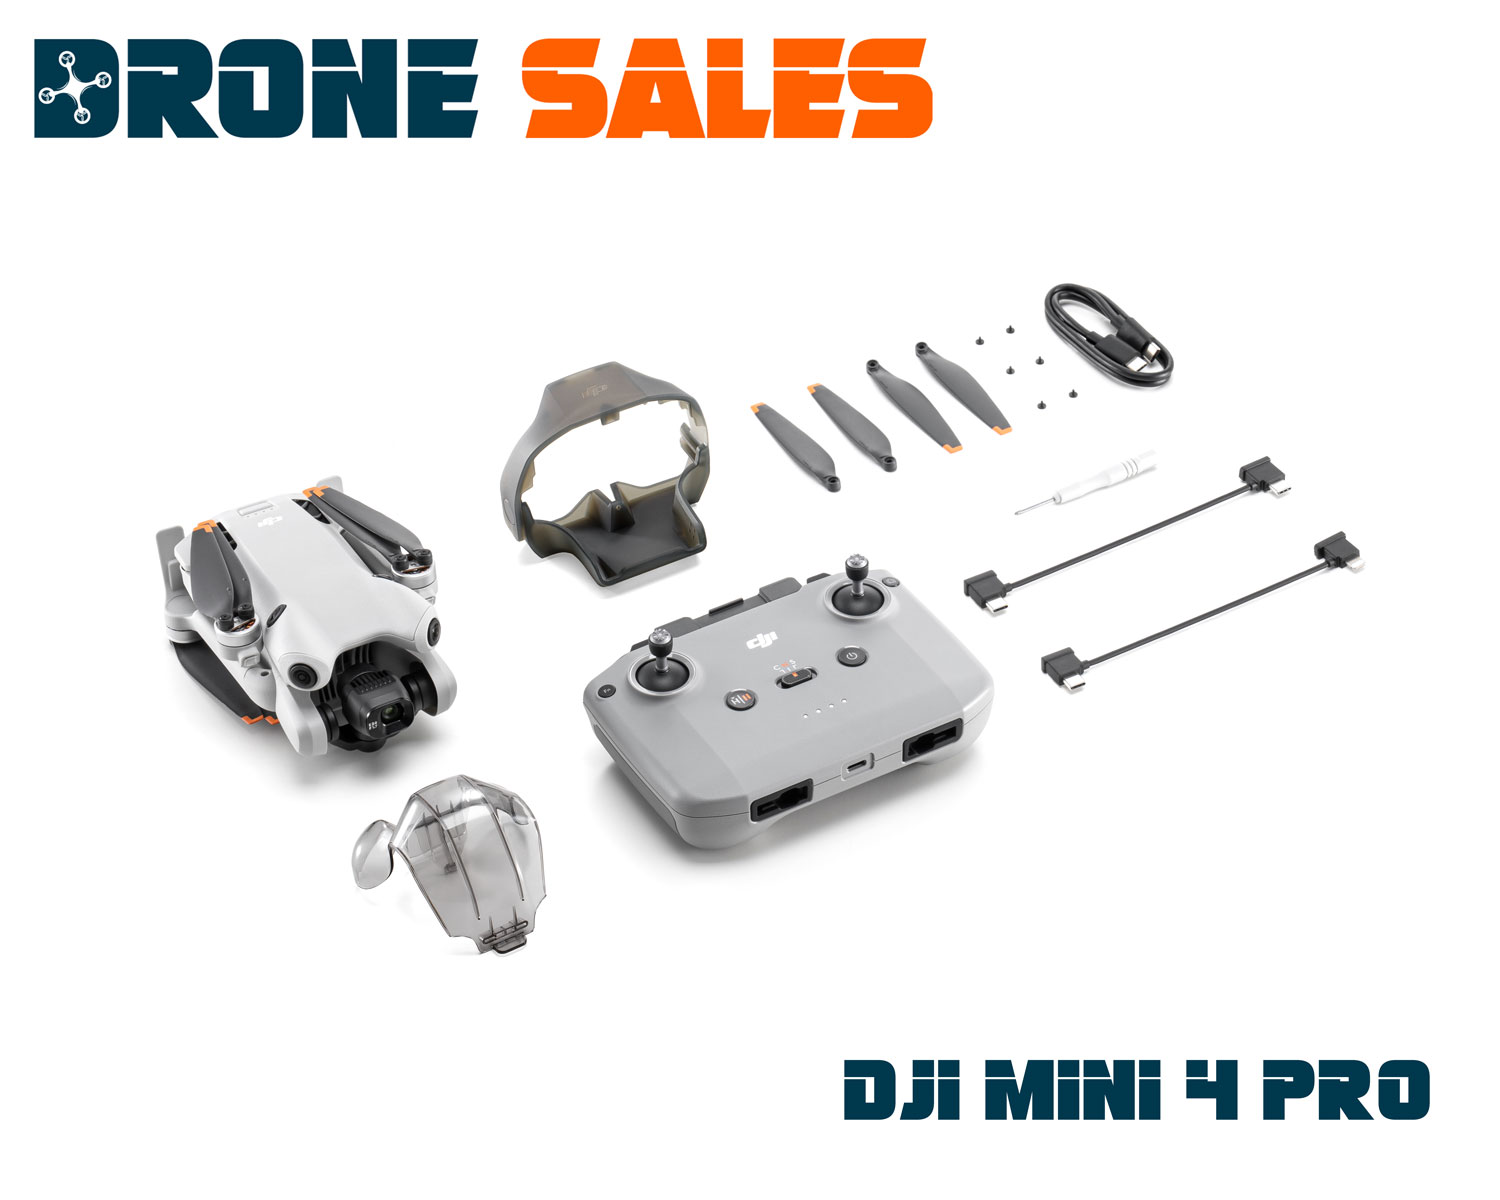
Please note you must add the RC2 additionally to the fly more kit if required.
View The Comprehensive Spec Sheet Here
| Hero | Feature | Description | Scenario |
|---|---|---|---|
| Lightweight, Portable, Regulation-Friendly | Under 249 g and Foldable | An ultra-light, foldable drone that weighs less than 249 g. | When users want to pack light for travel or a weekend getaway, the compact and lightweight 140 can slip into their bags for easy carrying. |
| – | Regulation-Friendly | Europe: The user pain point regarding the new C0 regulations is addressed. No exam or training is required. US: No registration required. China: No registration is required. | When traveling to most countries and regions, users do not need to register or take exams for 140, saving time and effort from having to read and prep for tests about local drone laws and regulations. |
| Safe and Reliable | Flagship DJI O4 Video Transmission | Live view quality: 1080p/60fps Max video transmission distance: 20 km (FCC); 8 km (CE/SRRC/MIC) | Scenario 1: In urban environments with substantial signal interference, 140 can deliver more stable signals to reduce stuttering and frame drops during video transmission compared to the previous generation. When filming around a building, at low altitudes, or through different obstructions, users can enjoy a better operating experience. Scenario 2: The 60fps video transmission frame rate enables a smoother live view. The lower latency delivers a faster and more responsive operation experience. |
| – | Omnidirectional Vision Sensing | Equipped with four fisheye vision sensors, downward binocular vision sensors, a 3D ToF sensor, and an auxiliary light, 140 is the first 249g drone that achieves omnidirectional vision sensing, allowing users to control sideways flight or use MasterShots and other intelligent features in complex environments like urban buildings with more peace of mind. * Unable to identify small obstacles like tree branches and electric wires; unavailable at night. | Scenario 1: Beginner-friendly: it can reduce the risk of hitting obstacles and the anxiety of crashing the drone. Scenario 2: The drone can automatically identify and bypass most obstacles, allowing creators to focus more on video shooting while flying in complex environments like buildings/residential areas. |
| – | Advanced Pilot Assistance Systems (APAS) | According to the control stick input and surrounding obstacle information, the drone can quickly identify and smoothly bypass obstacles in all directions (forward/backward/upward/downward/left/right) during flight. Even in relatively complex environments, smooth footage can be captured, and creation is no longer restricted. | |
| – | Bottom Auxiliary Light | Hovering at low altitudes at night is more stable. | It can reduce the crashing caused by uneven landing grounds or direct landing without seeing the ground clearly. |
| High Image Quality | High-Quality Imaging System: 1/1.3-inch Sensor f/1.7 Aperture 2.4μm (4-in-1) Large Pixel Dual Native ISO Integration | In the case of the same pixel count, a larger camera sensor size indicates a larger area per pixel, and each pixel is capable of capturing more light, which leads to higher image resolution. | Scenario 1 (sunset): 140 performs well when capturing high-contrast sunset scenes, and the dynamic range is higher than that of Mini 3 Pro. Scenario 2 (night): The highlight recovery performance is better, so neon/street lights are challenging to overexpose. The ISO is improved, and the image brightness is significantly improved. Meanwhile, the blurry feeling is reduced, and more details are retained. Scenario 3: Beginners or users who do not want to edit can get raw footage with great color and adequate dynamic range. |
| – | 4K/60fps HDR Video (DCG) | Integrates the images gained by dual analog amplifier circuits to improve the dynamic range effectively and supports the frame rate of 60fps and below.Thanks to the ISP upgrade, 140 performs better than Mini 3 Pro in scenarios like sunsets and night views, comparable to Air 3. | |
| – | Next-Gen SmartPhoto | Based on the previous generation of HDR, this generation of SmartPhoto selects different stack methods like HDR/Hyperlight to adjust and optimize parameters specifically for the scene to obtain photos with higher dynamic range (elevated up to 5 stops) and achieve the effect of simulated long exposure. The photodynamic range is targeted to be the same as that of the iPhone 14 Pro. | |
| – | Night Mode | Adopts a multi-scale noise reduction algorithm to suppress noise for cleaner shots effectively. | Night shots are cleaner with less noise. |
| – | 4K/100fps Slow Motion | Higher resolution improves video clarity. A higher frame rate facilitates smoother videos. | Scenario 1: It provides users with greater cropping space and slow-motion performance in post-production to improve image quality and post-production flexibility, allowing for a better creative experience. Scenario 2: Sports scenarios like running/biking/skiing/snowboarding/skateboarding; motion close-ups like animals/children running; car/off-road vehicle driving; dynamic landscapes like waterfalls/wheat waves, etc. |
| – | Color Modes: 10-bit D-Log M HLG | 10-bit D-Log M (retains highlight and shadow details, enabling more flexible post-production). HLG (industry HDR standard, adaptive to Rec.709/BT.2020 color space). | Scenario 1: Creators often use Log color modes during shooting. This feature helps retain more image details to improve image quality. Moreover, the color grading of D-Log M is easier than that of D-Log. Scenario 2: Compared with D-Log or RAW, HLG can retain a high dynamic range while reducing operating difficulty. Mainstream editing software can automatically convert HLG to standard colors, based on which creators can directly perform color grading for more convenient post-production. |
| – | Large-Angle Tilt | Supports large-angle tilt to enable more creative possibilities. Won’t reach the limit easily under heavy winds. | Scenario 1: Smaller gimbal limit, no bumping down to the limit against heavy winds. Scenario 2: Larger gimbal tilt angle for more creative possibilities. It presents footage with the sky as a pure background and even as smooth as using a jib on the ground. |
| – | Sharpness/Noise Reduction Stylized Adjustment | Supports customizing the video sharpness/noise reduction level (not available in Night mode). | Users can customize the imaging style without post-production. |
| – | True Vertical Shooting | True vertical shooting is achieved by rotating the roll axis of the gimbal. | Users can shoot vertical videos that spread the entire screen on social media without cropping and retain the original image quality. Scenario 2: Users can better capture vertical scenes like skyscrapers, waterfalls, and heavy traffic. |
Related Products
-
DJI Mini 4 Pro Battery
£59.00 Buy Now -
DJI Mini 4 Pro Prop Guards
£45.00 Read more -
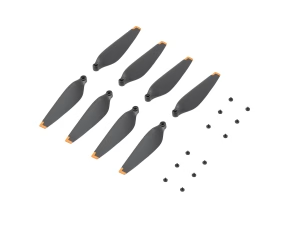
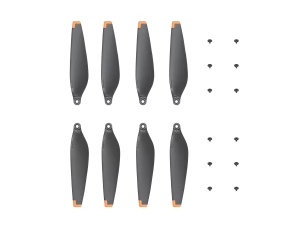
DJI Mini 4 Pro Propellers
£9.00 Buy Now -
Mavic 4 Pro intelligent flight battery
£179.00 Buy Now -
DJI Mavic 4 Pro ND Filters Set (ND8/16/32/64)
£129.99 Buy Now -
DJI Mavic 4 Pro Spare Propellers
£19.00 Buy Now -
DJI Neo Fly More Combo
£299.00 Read more -
DJI Mini 4 Pro ND Filters
£45.00 Buy Now -
DJI Mini 4 Pro Wide Angle Lens
£29.00 Buy Now -
Mavic 4 Pro RC-2
£1,879.00 Buy Now


